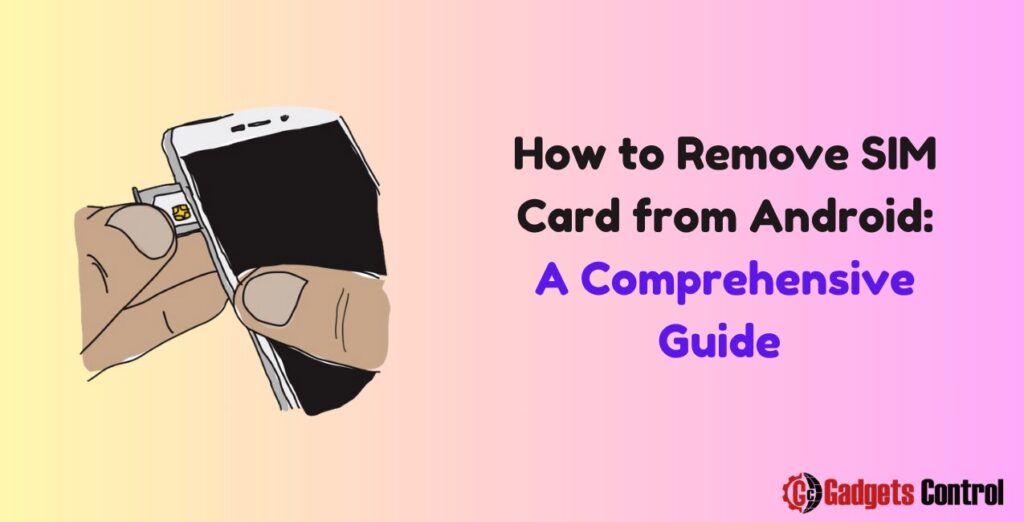
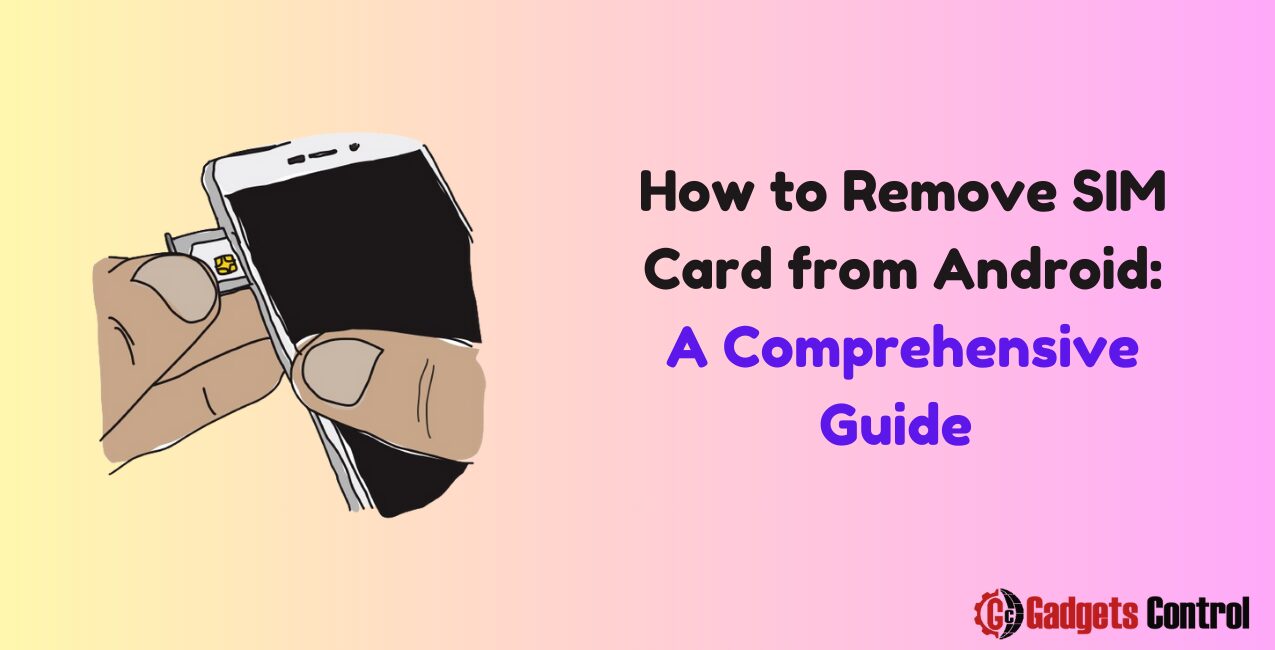
How to Remove SIM Card from Android: In today’s technologically advanced world, smartphones have become an indispensable part of our daily lives. With their myriad of features and functionalities, smartphones serve as our communication hubs, entertainment centers, and productivity tools.
The Subscriber Identity Module (SIM) card is a small, removable chip that stores crucial information, such as your phone number, carrier information, and contacts. While the SIM card is typically inserted into a designated slot within the smartphone, there may come a time when you need to remove or replace it. Whether you’re switching carriers, upgrading to a new device, or troubleshooting connectivity issues, knowing how to remove the SIM card from your Android phone is an essential skill for any smartphone user.

Table of Contents
- Introduction
- Understanding the SIM Card
- Identifying the SIM Card Slot on Your Android Device
- Steps to Remove the SIM Card from Android
- Tips for Safely Handling SIM Cards
- Frequently Asked Questions (FAQs)
- Conclusion
1. Introduction
Smartphones have revolutionized the way we communicate, work, and stay connected. As integral components of these devices, SIM cards play a crucial role in facilitating cellular communication and enabling access to network services. However, there are occasions when you may need to remove the SIM card from your Android phone, whether it’s to switch carriers, troubleshoot network issues, or upgrade to a new device.
2. Understanding the SIM Card
Before diving into the process of removing a SIM card from your Android phone. It’s essential to understand what a SIM card is and how it functions. A SIM card is a small, rectangular chip that securely stores information unique to the subscriber, including:
- Phone number
- Carrier information
- Subscriber identity
- Contacts and text messages (depending on the SIM card type)
SIM cards come in various sizes, including standard SIM, micro SIM, and nano SIM, with the latter being the most common in modern smartphones due to its smaller form factor. Additionally, some newer devices may utilize eSIM (embedded SIM) technology, which eliminates the need for a physical SIM card altogether.
3. Identifying the SIM Card Slot
Before attempting to remove the SIM card from your Android phone, you’ll need to locate the SIM card slot. The location of the SIM card slot may vary depending on the make and model of your device. However, it’s typically located either on the side or the top of the phone.
To identify the SIM card slot on your Android device, follow these steps:
- Refer to the User Manual: If you’re unsure where the SIM card slot is located, consult the user manual that came with your device. The manual will typically contain detailed illustrations or instructions indicating the location of the SIM card slot.
- Inspect the Exterior: Examine the sides and top of your smartphone for any small openings or trays. The SIM card slot is often accompanied by a small pinhole or a removable tray with a SIM card icon.
- Use a SIM Ejector Tool: Many smartphones come with a SIM ejector tool—a small, needle-like device used to eject the SIM card tray. If your device includes this tool, it’s usually stored in the packaging or the box that the phone came in.
Once you’ve located the SIM card slot on your Android device, you’re ready to proceed with removing the SIM card.
4. Steps to Remove SIM Card
Now that you’ve identified the SIM card slot on your Android device, let’s walk through the step-by-step process of removing the SIM card:
Step 1: Power Off Your Device
Before removing the SIM card from your Android phone, it’s important to power off the device to avoid any potential damage or data loss. To power off your device, press and hold the power button until the power-off menu appears, then select “Power off” or “Shut down.”
Step 2: Locate the SIM Card Slot
Using the instructions provided in the previous section, locate the SIM card slot on your Android device. Depending on the device model, the SIM card slot may be located on the side or the top of the phone.
Step 3: Insert the SIM Ejector Tool
If your device came with a SIM ejector tool, retrieve it from the packaging or the box. Insert the pointed end of the SIM ejector tool into the small pinhole next to the SIM card slot. Apply gentle pressure until the SIM card tray pops out slightly.
Step 4: Remove the SIM Card Tray
Once the SIM card tray is partially ejected, carefully pull it out of the device using your fingers. The SIM card tray will contain one or more slots for SIM cards, depending on your device’s specifications. Identify the slot containing the SIM card you wish to remove.
Step 5: Remove the SIM Card
With the SIM card tray removed from the device, gently push the SIM card out of its slot using your fingertip or a small tool. Be cautious not to apply excessive force, as this could damage the SIM card or the device.
Step 6: Reinsert the SIM Card Tray
After removing the SIM card, carefully reinsert the SIM card tray back into the device, ensuring it is aligned correctly with the slot. Apply gentle pressure to secure the tray in place.
Step 7: Power On Your Device
Once the SIM card tray is securely inserted, power on your Android device by pressing and holding the power button. Allow the device to boot up normally, and verify that it recognizes the absence of the SIM card.
Congratulations! You have successfully removed the SIM card from your Android phone. Whether you’re replacing the SIM card, troubleshooting network issues, or performing maintenance on your device, following these steps will ensure a smooth and hassle-free experience.
Must Read:
- Eliminate Duplicate Notifications on Android: Best Guideline in 2024
- Risks of Installing Apps from Unknown Sources: Superior Guidelines for Android Users in 2024
- Widget Management on Android: Comprehensive Guide in 2024
5. Tips for Safely Handling SIM Cards
While removing a SIM card from your Android device is a relatively straightforward process, it’s essential to handle the SIM card with care to avoid damage or loss of data. Here are some tips for safely handling SIM cards:
- Power Off Your Device: Always power off your Android device before removing or inserting a SIM card to prevent potential damage or data corruption.
- Use the Right Tool: If your device includes a SIM ejector tool, use it to safely eject the SIM card tray. Avoid using sharp objects, such as paperclips or needles, as they may damage the device.
- Handle with Care: When handling the SIM card, avoid touching the gold contacts or bending the card. Handle the SIM card by its edges to prevent damage to the delicate components.
- Keep Your SIM Card Safe: Store your SIM card in a safe place when not in use to prevent loss or damage. Avoid exposing the SIM card to extreme temperatures, moisture, or magnetic fields, as these can affect its performance.
By following these tips
, you can ensure that your SIM card remains in optimal condition and maintains reliable connectivity with your Android device.
6. Frequently Asked Questions (FAQs)
Q1: Can I remove the SIM card while my Android phone is powered on?
Q2: What should I do if the SIM card is stuck in the slot?
Q3: Can I reuse the same SIM card in another device?
Q4: What should I do if my Android phone does not recognize the SIM card after reinserting it?
7. Conclusion
Removing a SIM card from your Android device is a simple yet essential task that may be required for various reasons. By following the step-by-step instructions outlined in this guide and adhering to best practices for handling SIM cards, you can safely and confidently remove the SIM card from your Android phone.
Whether you’re a novice smartphone user or a seasoned tech enthusiast, knowing how to remove the SIM card empowers you to take control of your device and ensures seamless connectivity wherever you go. By arming yourself with the knowledge and skills necessary to perform this task, you can navigate the world of smartphones with confidence and ease.

